Headless Installation of CentOS 7 on PC Engines APU2C4

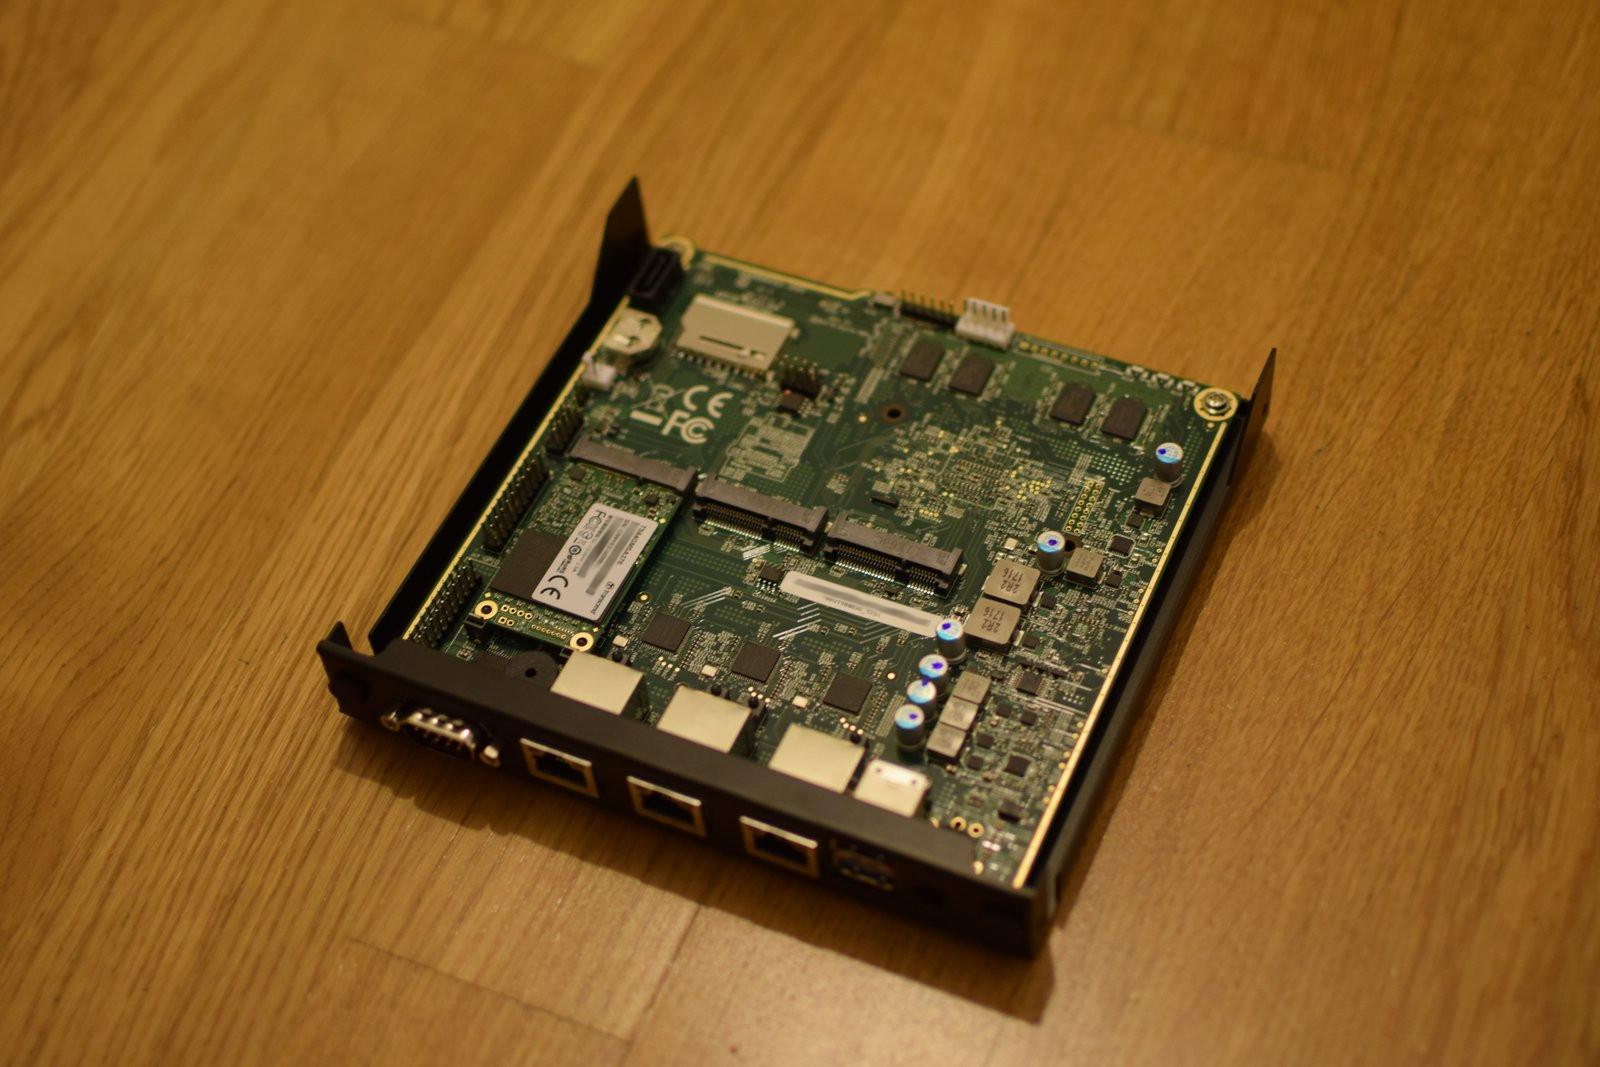
After giving up of running Raspberry Pi as my home server due to its instability and poor performance in cases relevant for me, I was looking for another solution which would also be reasonable priced, yet which would provide stability and strengths in typical home server tasks. Under these tasks I count a backup facility (NAS, Network-attached storage), multimedia server (photos and music), services for simple automation projects and so on. Then I heard some stories about the incredible robustness of ALIX machines which work in inaccessible mountain areas for years and years without problems. The prices of those devices are also about right (~150 euros) and they are based on AMD's embedded CPUs, x86_64 which means running standard GNU/Linux distributions without restrictions. Therefore, I bought one. PC Engines ALIX APU2C4: 4-core 1 GHz CPU (AMD GX-412TC), 4 GB RAM, mSATA SSD, ... from Varia-store.com. Just to mention that the power consumption of the device is ridiculously low - only 6-12 watts.
There is no video output on the board; thus a headless (unattended) or automated installation of OS is required. I decided that the most flexible approach would be to boot CentOS with VNC (Virtual Network Computing) support enabled and to connect to it remotely using KRDC (KDE Remote Destkop Client). Why CentOS? CentOS is my distribution of choice for servers.
Here is how I did it.
Download CentOS 7 x86_64 Minimal ISO from the offical download page
-
Mount it locally to ''/media/iso''
# mount /mnt/storage/Downloads/ISO/CentOS-7-x86_64-Minimal-1708.iso /media/iso/
-
Copy its content to a temp location and unmont it:
# cp -pRf /media/iso /tmp/centos && umount /media/iso
- Edit boot parameters in isolinux/isolinux.cfg according to the RHEL documentation:
in the so-called default append line add following parameters inst.headless inst.vnc inst.vncpassword=MYPASSWD (the VNC password must be between 6 and 8 characters long)
put the global timeout to 1 (we do not want to wait)
-
Generate ISO from it where the string "CentOS7 x86_64" should match the label in isolinux.cfg (with "x20"s are replaced with spaces):
# genisoimage -U -r -v -T -J -joliet-long -V "CentOS 7 x86_64" -volset "CentOS 7 x86_64" -A "CentOS 7 x86_64" -b isolinux/isolinux.bin -c isolinux/boot.cat -no-emul-boot -boot-load-size 4 -boot-info-table -eltorito-alt-boot -e images/efiboot.img -no-emul-boot -o ../CentOS-7-x86_64-Minimal-1708-VNC.iso .
-
Convert the newly generated ISO to a format suitable for USB boot drives:
# isohybrid CentOS-7-x86_64-Minimal-1708-VNC.iso
-
Implant a checksum of the image:
# implantisomd5 CentOS-7-x86_64-Minimal-1708-VNC.iso
-
Finally, convert and copy the image to the USB memory drive
# dd if=CentOS-7-x86_64-Minimal-1708-VNC.iso of=/dev/sdc
-
The boot procedure can be tested from the USB memory drive by using QEMU:
# qemu-system-x86_64 -hda /dev/sdc -m 1024 -vga std
That's it. By plugging the bootable drive in the board, the installation can be initiated. Use any VNC viewer (KRDC in KDE for example) to connect (port is either 1 or 5900) and proceed with the installation.
The partition configuration I use is 250 MB for boot, 10 GB for root, 20 GB for /var and the rest is for /home.
Regarding the serial console access. One can access the serial port via null modem (any will work) with the following parameters: 115200 8N1 (PC Engines doc). To enable it inside a CentOS installation a boot argument console=ttyS0,115200n8 should be added in GRUB by appending the line GRUB_CMDLINE_LINUX= in file /etc/sysconfig/grub, and then rebuilding GRUB:
# grub2-mkconfig -o /boot/grub2/grub.cfg
In some cases it is necessary to re-order the boot order of devices and this can be done through the serial console access (pressing F10 and then following options).